I only use real stone and the only thing I will do is improve the polish some stone pieces will take by filling in natural occurring structures such as pits, druzy, and lines with a UV stable polymer, usually Hxtal. I believe that many of these natural occurring stone structures act like a rock pit in a windshield and can spread and Hxtal works like the polymer used when you have the windshield fixed (stabilized). A second analogy is the use of sealers on naturally occurring knots and grain in wood used in floors and furniture to “stabilize” it as a step in finishing and polishing of the wood.
I have put together a tutorial on how to stabilize single slabs and even rough prior to sawing with the use of Hxtal. Hxtal is a water clear UV stable two part Epoxy that is fluid and in normal room temperature it takes up to seven days to cure completely. The fact it is very fluid and takes so long to set up makes it ideal to use for stabilization of stone. The fact it is water clear and UV stable are also great for stabilization of stone.
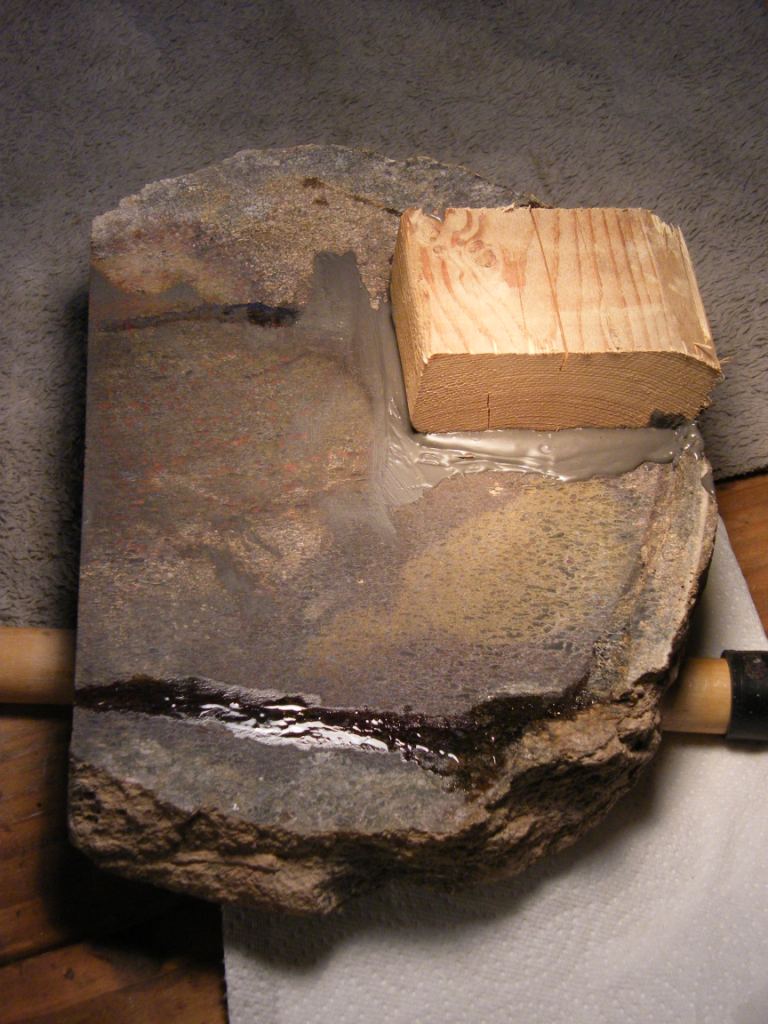
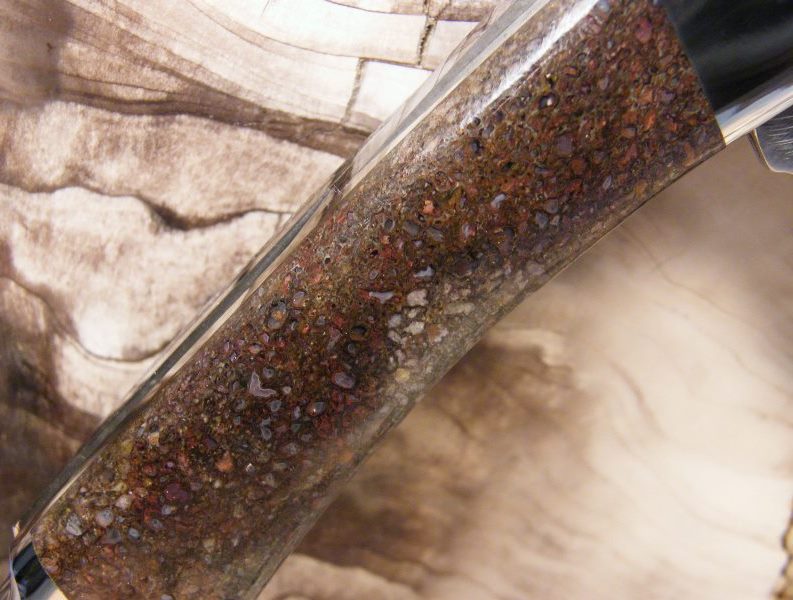
I will be using a large piece of dinosaur bone with hundreds of open cells, porous cell walls and partially healed fractures to demonstrate how to use Hxtal in stabilization of stone. This is a piece of dinosaur bone with a lot of natural occurring structures such as pits, vugs, druzy, and lines.
 tutorial photo 1.jpg (123.3 kB . 768x1024 - viewed 1664 times)
 Here is the piece of rough that I am using. It is a 9 pound piece so it is not a small piece of stone. In fact I am preparing it for cutting with my 24 inch saw. I have mixed a very small amount of Hxtal and in this photos I am working to stabilize the partially healed fracture lines.
I have the stone warmed up to about 150 degrees under a shoplight. I use my shoplights to frequently heat up stone for just this type of work. The heat thins out the Hxtal to about water thin and opens up the fracture lines a bit too I think.
 Tutorial photo 2.jpg (101.13 kB . 800x600 - viewed 1749 times)
After a few hours, you can clearly see that the Hxtal has seeped deep into the partially healed fracture line. After a few hours under the light I take the heat off and the Hxtal will continue to wick into the stone for about a full day.
 tutorial photo 3A.jpg (76.1 kB . 640x480 - viewed 1628 times)
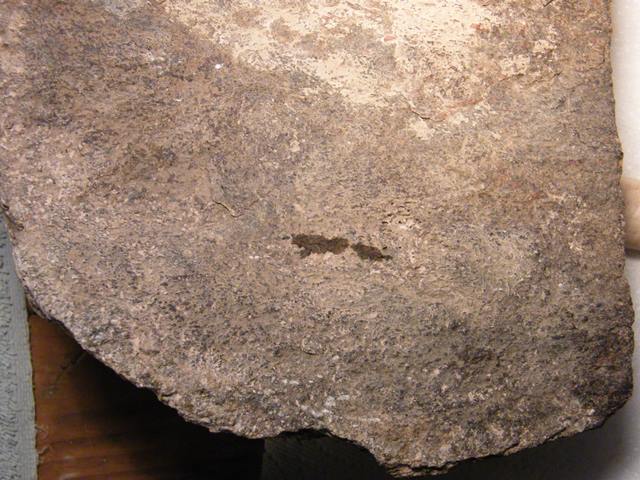
The next day from the back of the stone you can clearly see a spot that the Hxtal wicked all of the way through the piece.
 tutorial photo 4.jpg (113.86 kB . 800x600 - viewed 1789 times)
After slabbing the piece and getting all of the saw oil out I coated the entire slab with Hxtal with the slab heated up again under the shoplights. I try to limit the heat to below 165 degrees. The Hxtal will wick down into the stone so I used four mixes over about four hours. I often mix up just a few drops at a time so although Hxtal is expensive it goes a very long way. I just spread the Hxtal around with a plastic toothpick.
 tutorial photo 5.jpg (94.35 kB . 800x600 - viewed 1658 times)
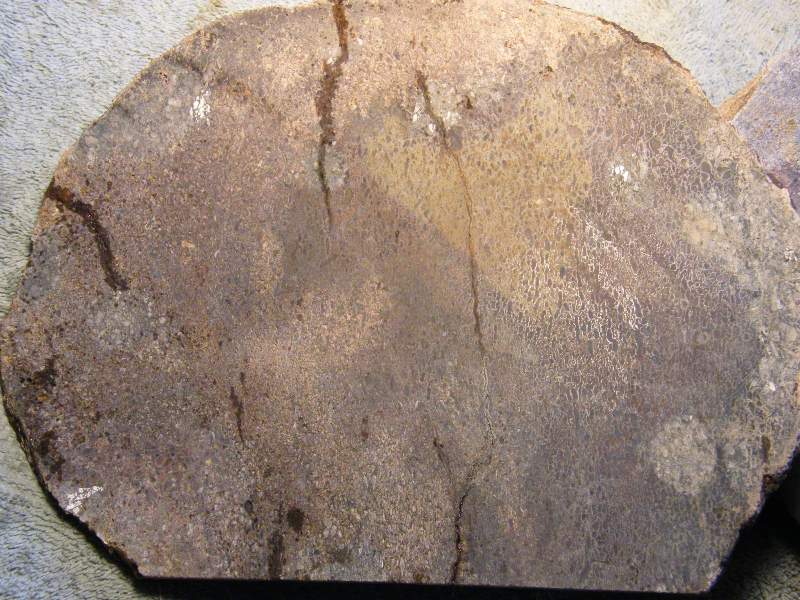
After the Hxtal cured for a few days you can see how it wicked all of the way through the slab that is a bit over ¼ inch thick. If you really look hard you can barely find the big fracture line I initially sealed with Hxtal before slabbing the piece. It is to the right of the yellow spot.
I repeat the stone heating and Hxtal coating process from this side to fill as many of the empty cells as possible.
After adhering the scales I cut from the slab to a knife I sanded the Dinosaur Bone to 600 grit which uncovered a few empty cells so I just mixed up a few drops of Hxtal and filled them all. I let the knife sit for three days and sanded off most of the Hxtal “bumps” with the 600 grit stopping just short of getting to the point of sanding stone again and went on to the 1200 grit to smooth the rest and sand the stone and on down the grits to a final polish.
 tutorial 6A.jpg (92.09 kB . 793x600 - viewed 1643 times)
Here is the end result of the Hxtal stabilization of the pretty poor piece of Dinosaur Bone. It is hard to believe it really is from that slab but I assure you it is. I only use real stone and the only thing I will do is improve the polish some stone pieces will take by filling in natural occurring structures such as pits, druzy, vugs and lines with a UV stable polymer, usually Hxtal. Epoxy 330 can be used for filling any of these pits, lines, vugs and druzy that show ater sanding to a 600 grit finish but requires a lower heating point and hardens fully in a couple of hours. I will be covering the Epoxy 330 in the next steps.
EPOXY 330Epoxy 330 is a water clear polymer that does not wick into stone as does Hxtal. It is still a good way to deal with these stone structures uncovered and it hardens in hours rather than in days. I would say that Hxtal fills in about 90% of the structures showing at the 600 grit stage and Epoxy 330 about 80% of them. Epoxy 330 is much more readily available as it is sold in most Hardware stores and is much less costly than Hxtal.
Here are some before and after photos of “texture” showing after sanding to 600 grit and the same spot after filling with Epoxy 330 and then after the final sanding and polishing.
Before -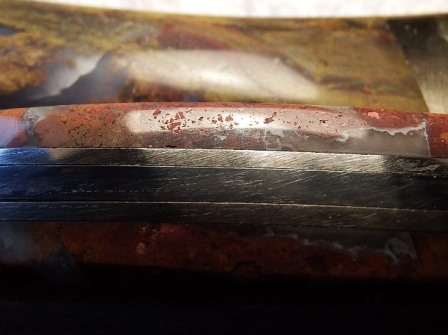 DSCF4384.JPG (50.34 kB . 448x335 - viewed 1710 times)After -
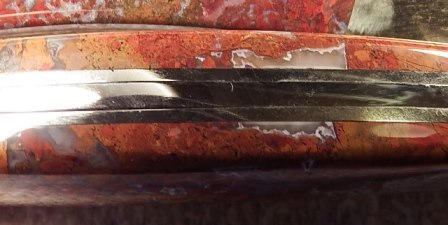 DSCF4387.JPG (42.88 kB . 448x225 - viewed 1652 times)Before -
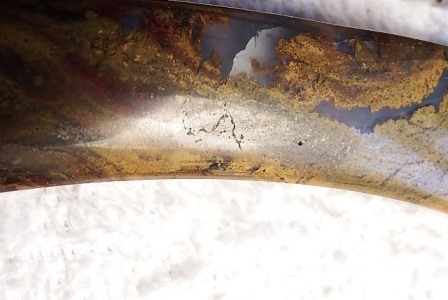 DSCF4381.JPG (53.25 kB . 448x300 - viewed 1735 times)After -
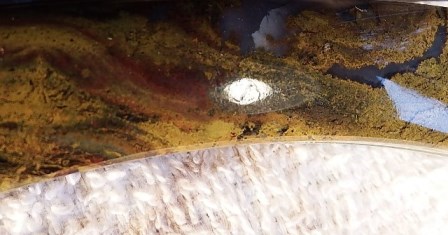 DSCF4390.JPG (49.82 kB . 448x235 - viewed 1735 times)Before -
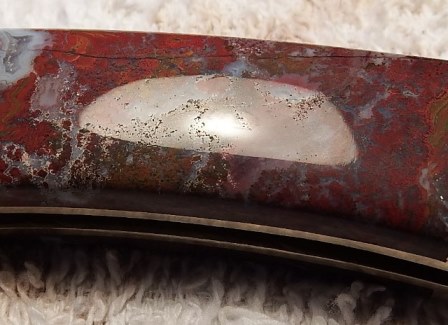 DSCF4380.JPG (54.97 kB . 448x325 - viewed 1664 times)After -
 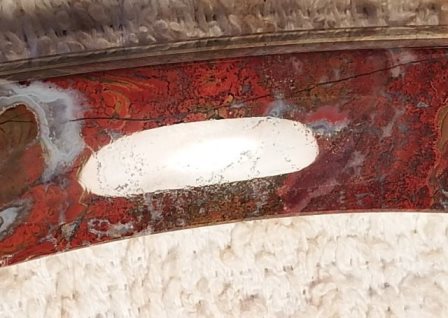 DSCF4388.JPG (51.2 kB . 448x318 - viewed 1696 times)
I see a very significant improvement in the final polish and these are all “worst” case pieces as they are all Moroccan Agate. As Agate is much harder than Hxtal or Epoxy 330 it sands and polishes much easier, so ends up polishing slightly below the agate. When filling in a vug over about 1/8 inch across you will be able to see the slight depression in the finished piece but in my opinion the end polish is much better and no “gunk” ends up in the spot.
When you use Epoxy 330 for this stage you heat the stone to about 110 degrees as that makes the polymer thin out and fill in the structures much better. I use a common household cooking thermometer to be sure the temperature is about where I want it. In my Lapidary I am set up to use a warming plate which I have on a timer so I don’t forget it and leave the pieces I am working on heated for too long. For the initial Hxtal stage I use the warming plate at it’s lowest setting which is about 150 degrees on top of a paper towel. I use the paper towels to avoid permanently adhering a slab to the top of the hot plate!
Timer – 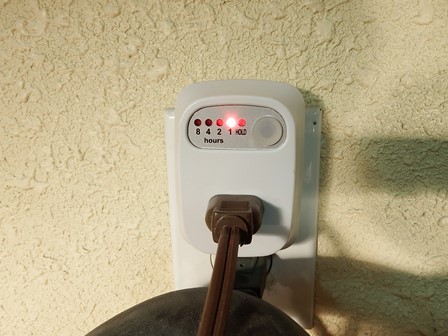 DSCF4396.JPG (60.63 kB . 448x336 - viewed 1650 times)Set up for Hxtal stage with the thermometer on the paper towel –
 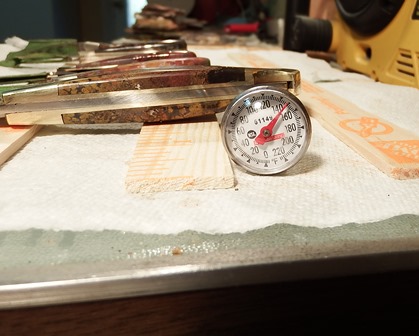 DSCF4397.JPG (57.14 kB . 419x336 - viewed 1698 times)Set up for Epoxy 330 stage with the thermometer and stone on top of the wooden paint sticks –
 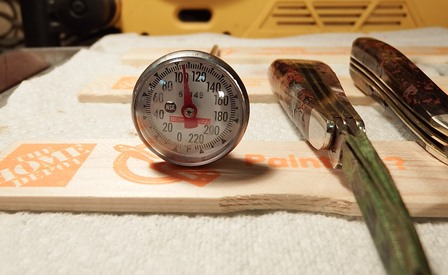 DSCF4395.JPG (53.58 kB . 448x275 - viewed 1629 times)
It is all relatively simple and allows a much better finish polish on your artwork. It does require more time and additional stages of work but I want to present my customers with the very best results possible.

 Author
Topic: Simple single slab "stablization" with Hxtal (Read 10923 times)
Author
Topic: Simple single slab "stablization" with Hxtal (Read 10923 times)