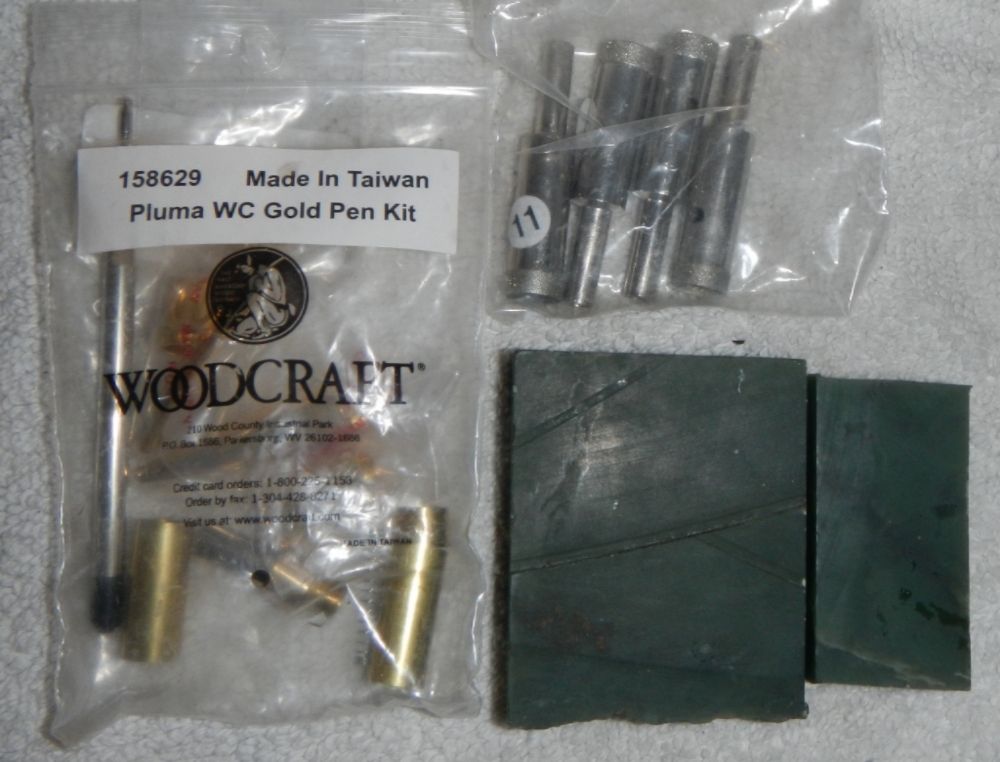
Ok, this is a lot like bead making so I put it here, go ahead and move if it is in the wrong place. I have made one of these kits before with stone, and it was pretty fun. This time through I thought i would document the process along with the lessons I learned from last time. Here is the starting material: one pen kit from the local woodcraft store, a little jade block from ebay, and some drill bits also from ebay. A note on the pen kit. I did a lit of searching, and this kit required the least amount of drilling:
http://www.woodcraft.com/product/158627/pluma-pen-kit-chrome.aspx from woodcraft. The hardest part with these for me is getting a nice fit with no gaps anywhere in the finished product. To accomplish this you have to have the opening of the hole perfectly square with the sides of the hole. Hard to explain, hope the method comes through.
1st step is drilling. It is better to start with a blank with parallel sides. This will help to keep things square later. The hole can't have any defects or the brass sleeve wont fit. This means that it is better to drill from only one side. This pen kit calls for a drill bit in English units so I took the closest metric size. I drilled to a depth that matches the length of the brass tube from the pen kit. Then I cut the blank from the block, but am sure to cut it oversize (so the hole isn't open)
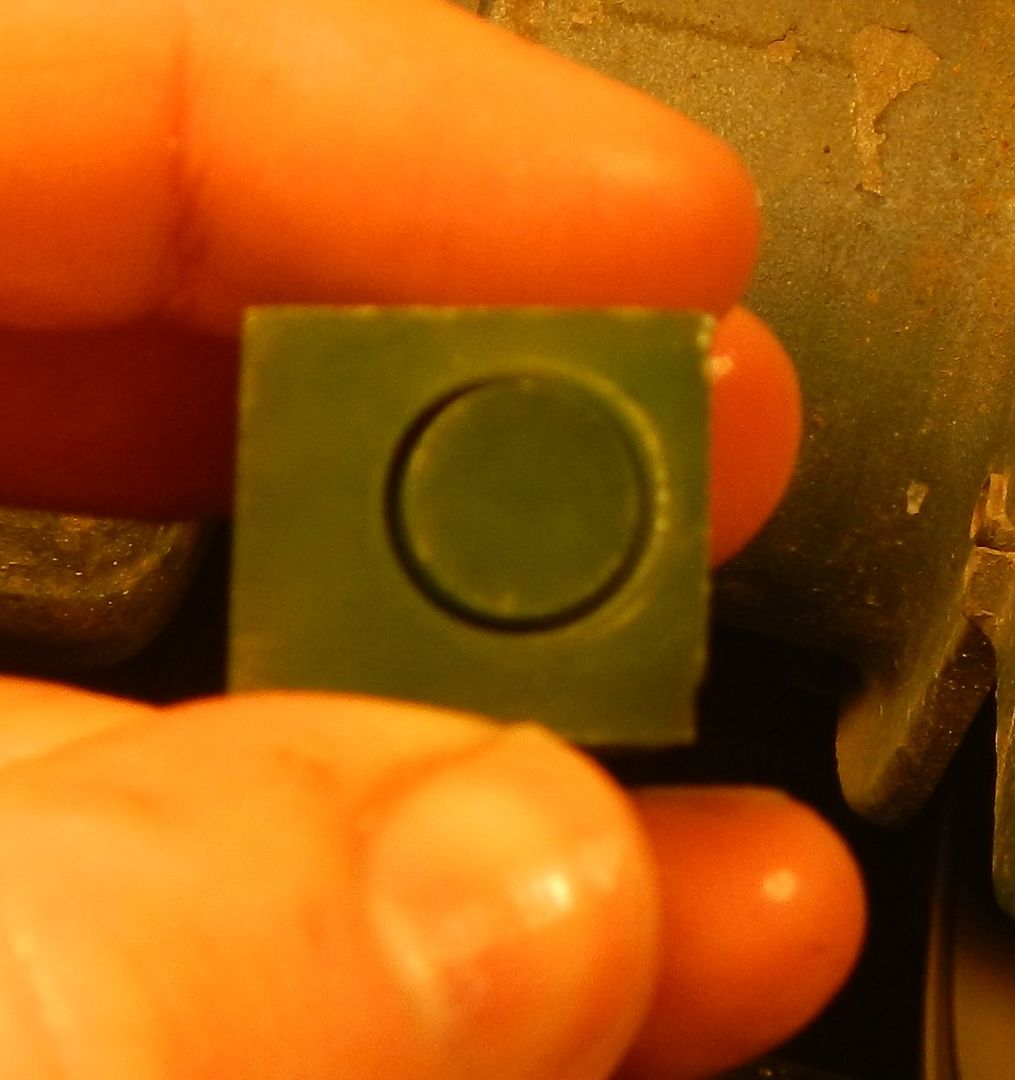
Grind back from the other side. Here I am almost through to the bottom of the hole. Go slow, and grind till you are just barely through evenly around the hole. If done right, this side of the hole opening will be exactly perpendicular to the hole (since the drill bit was), and the blank will be exactly the right size. Work at this step ensures that everything will fit properly later.
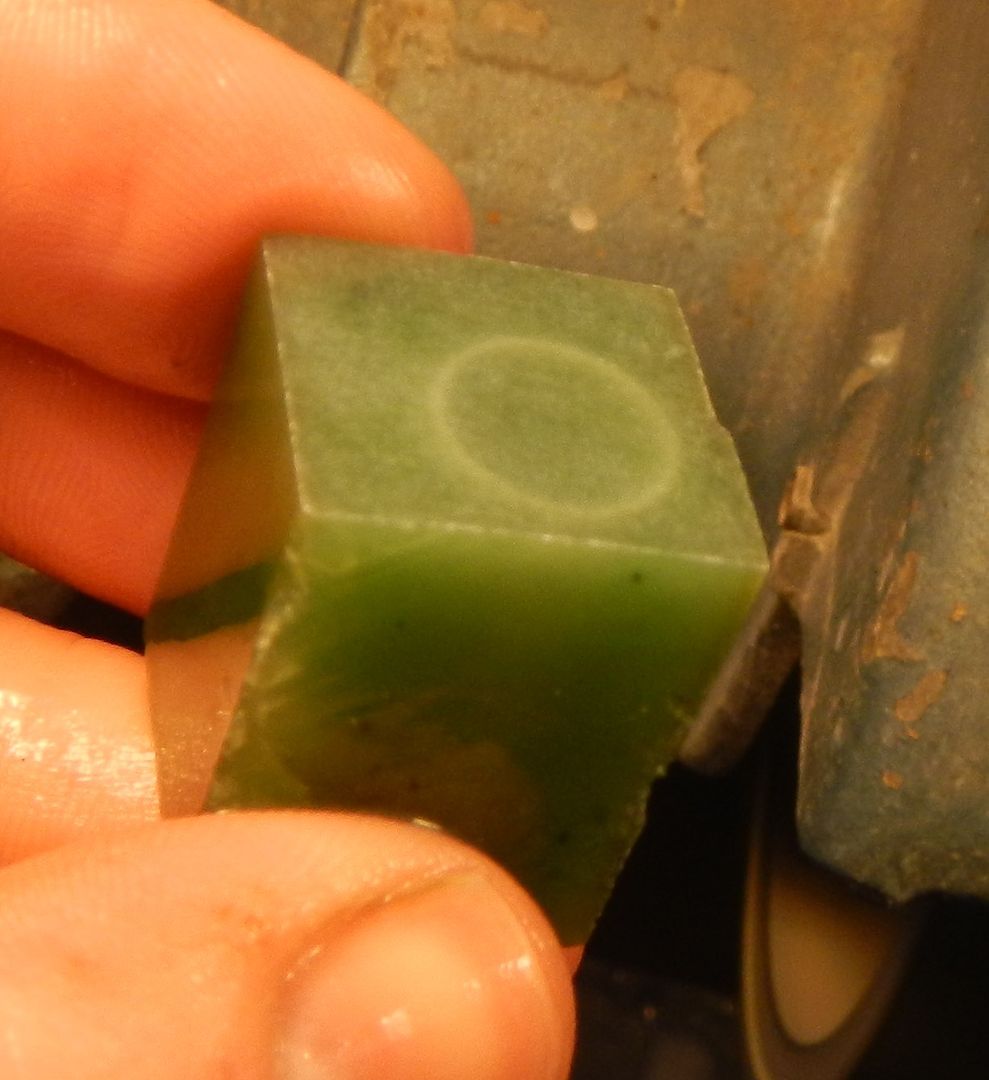
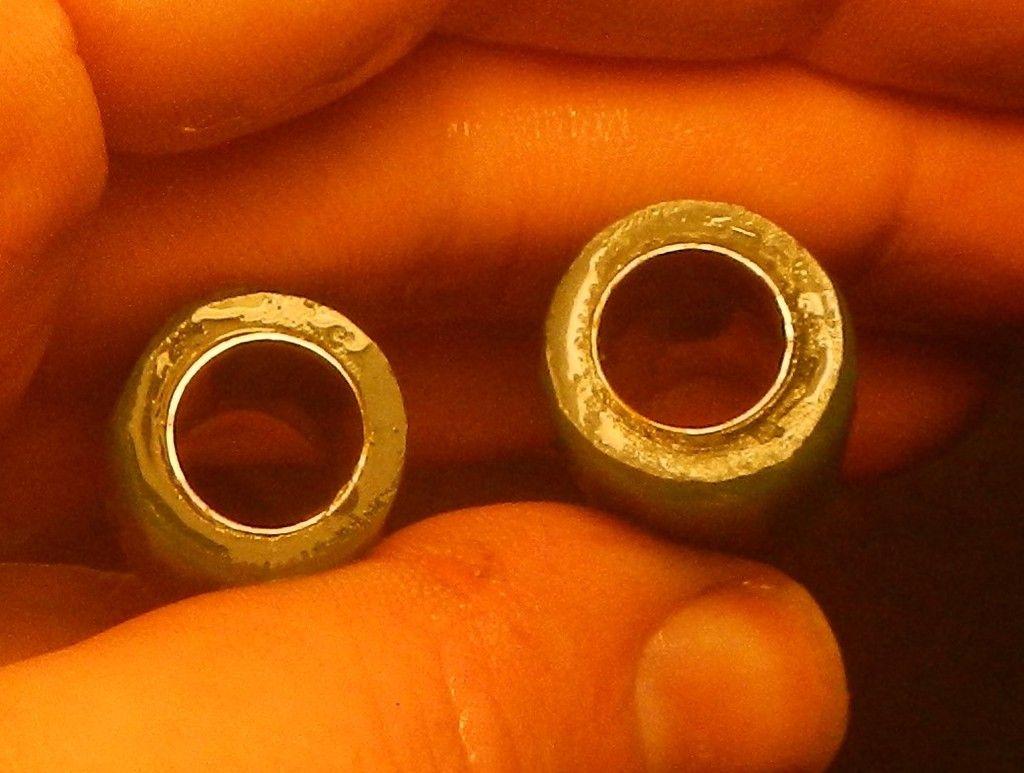
this leaves you with a drilled blank that fits the brass tube from the pen kit

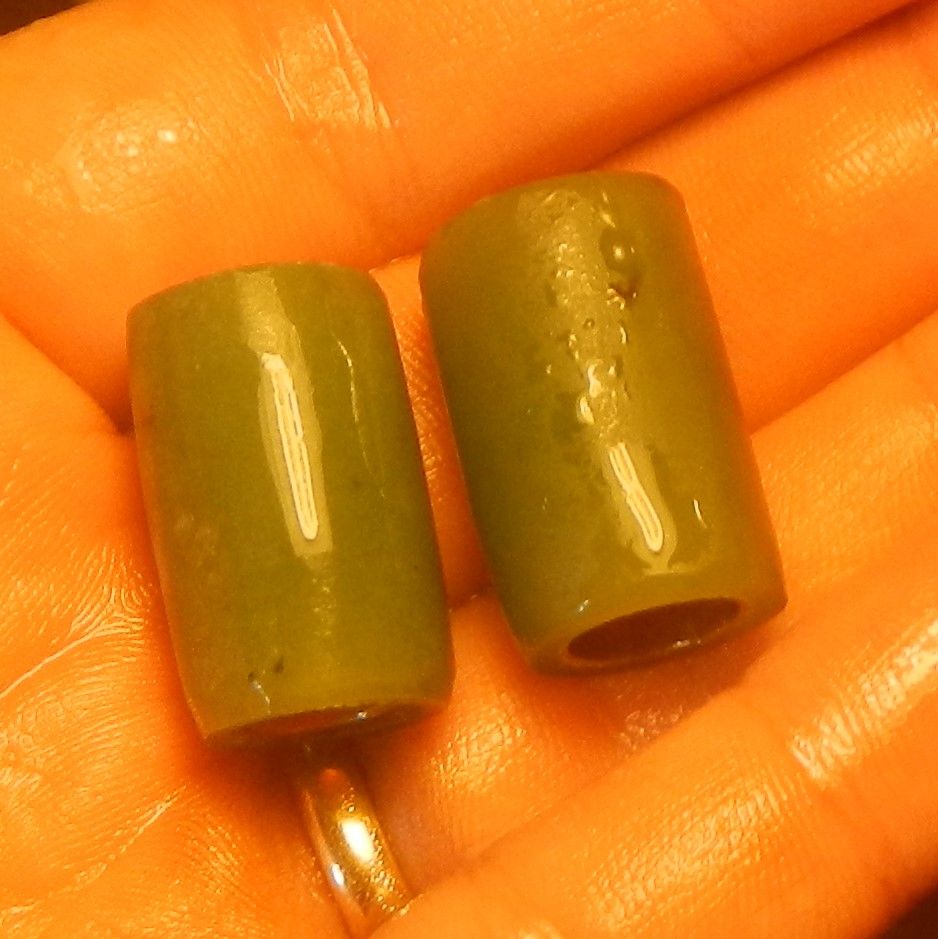
at this point I rough out the outer round shape of the blank to make a jade tube
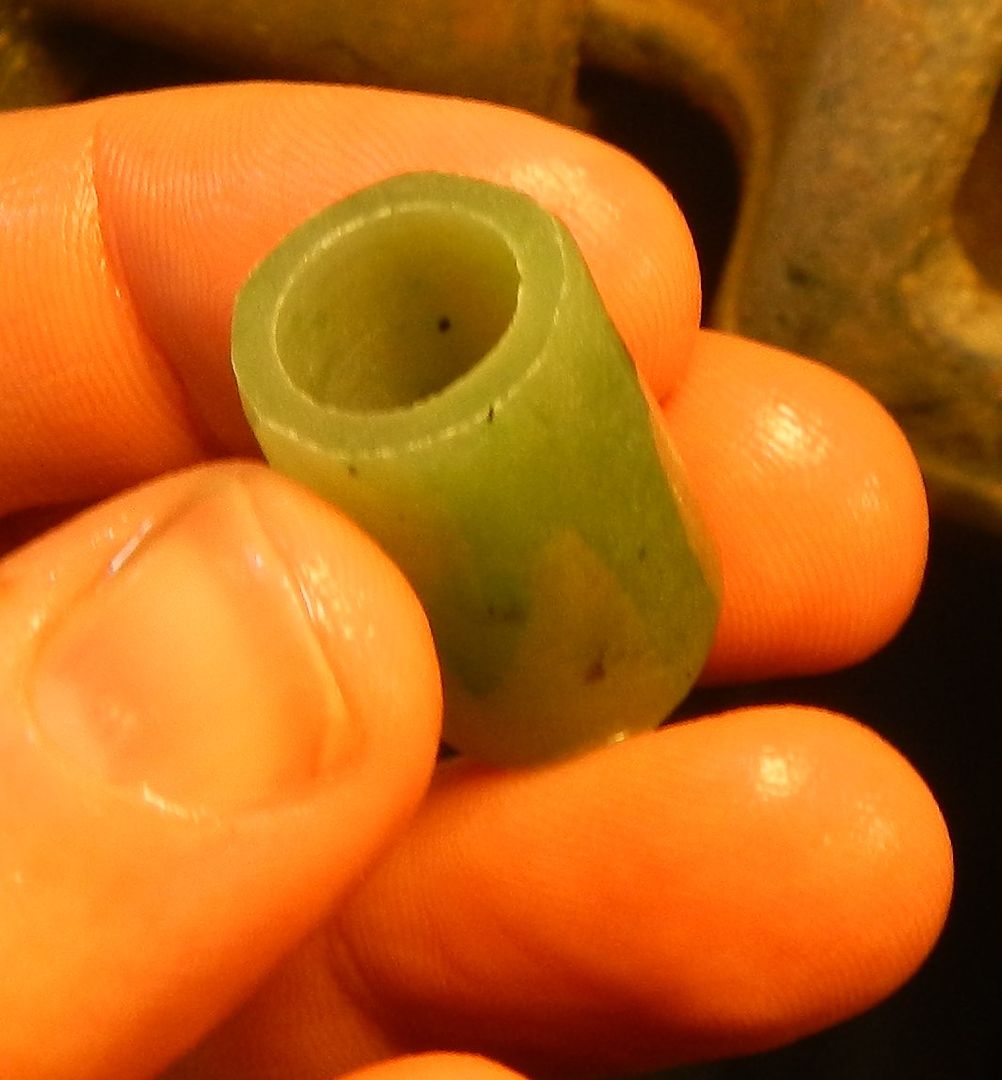
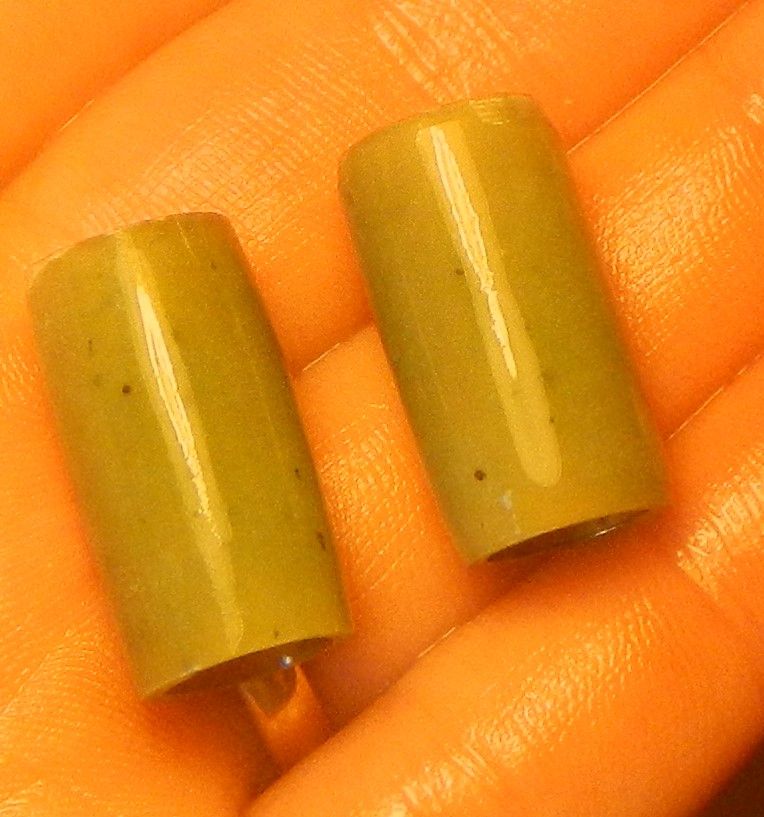
repeat to get 2 tubes
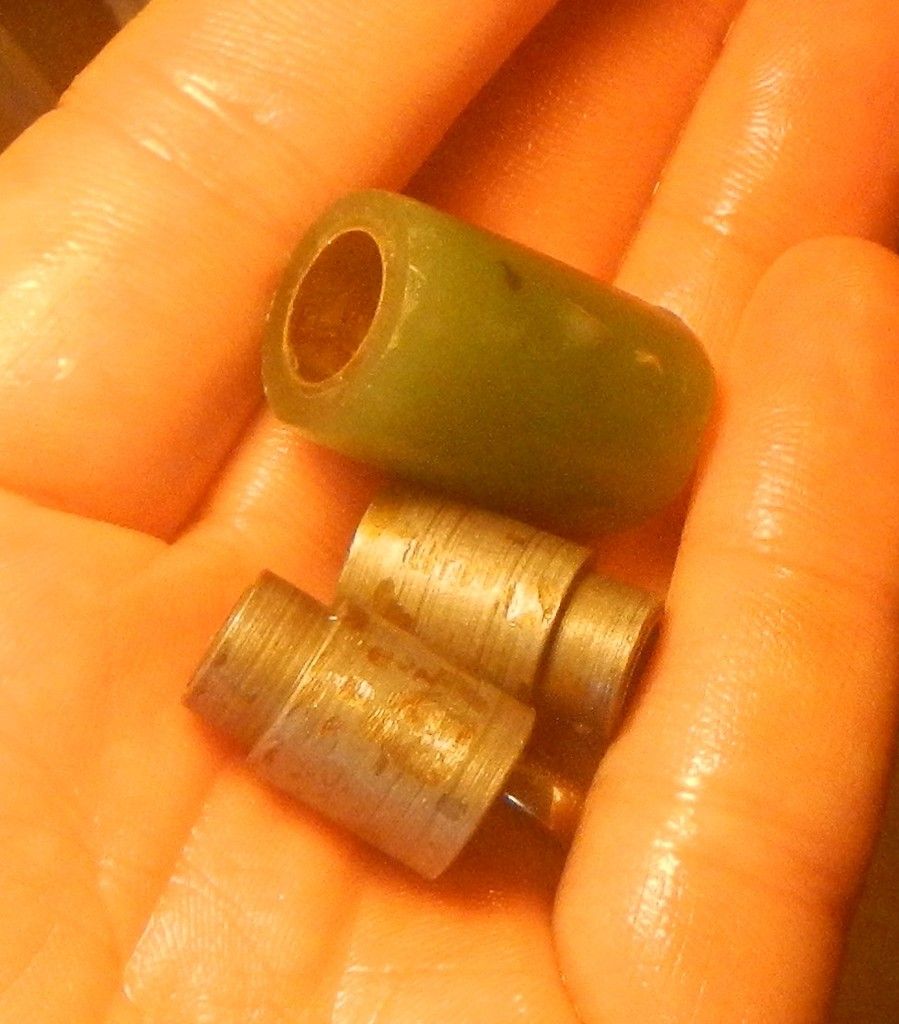
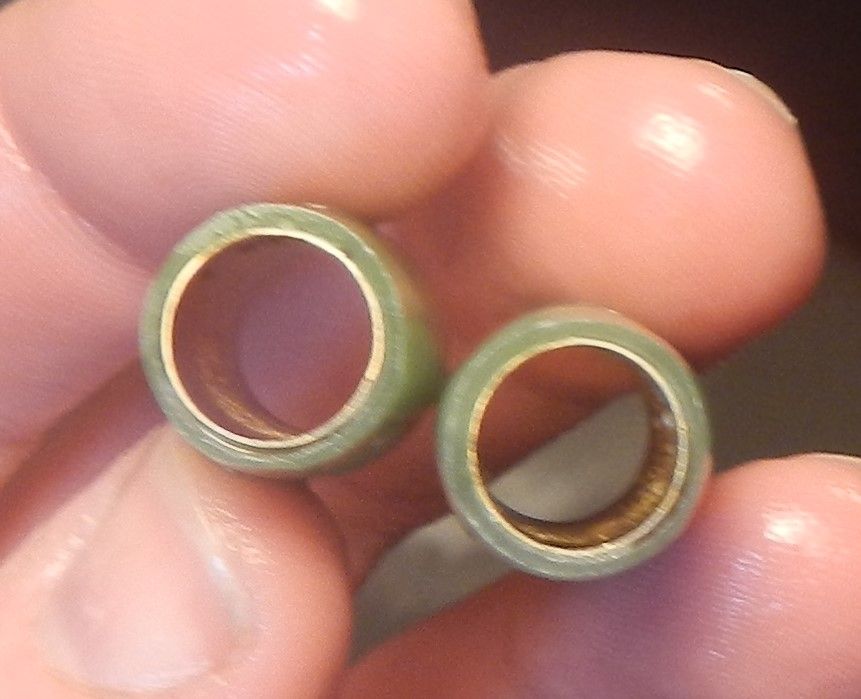
rough up the brass tubes with 300 grit. Everything gets a thorough cleaning. This is a translucent stone, and will be just over 1mm thick when we are done, so be sure to coat everything well, bubbles or missing patches or jade cream will be visible if left. Epoxy the brass tubes. Be sure they are flush or just inside the tube.
Each pen kit has a set of bushings you can buy separate. They step down the exact same amount as the actual pen kit components.
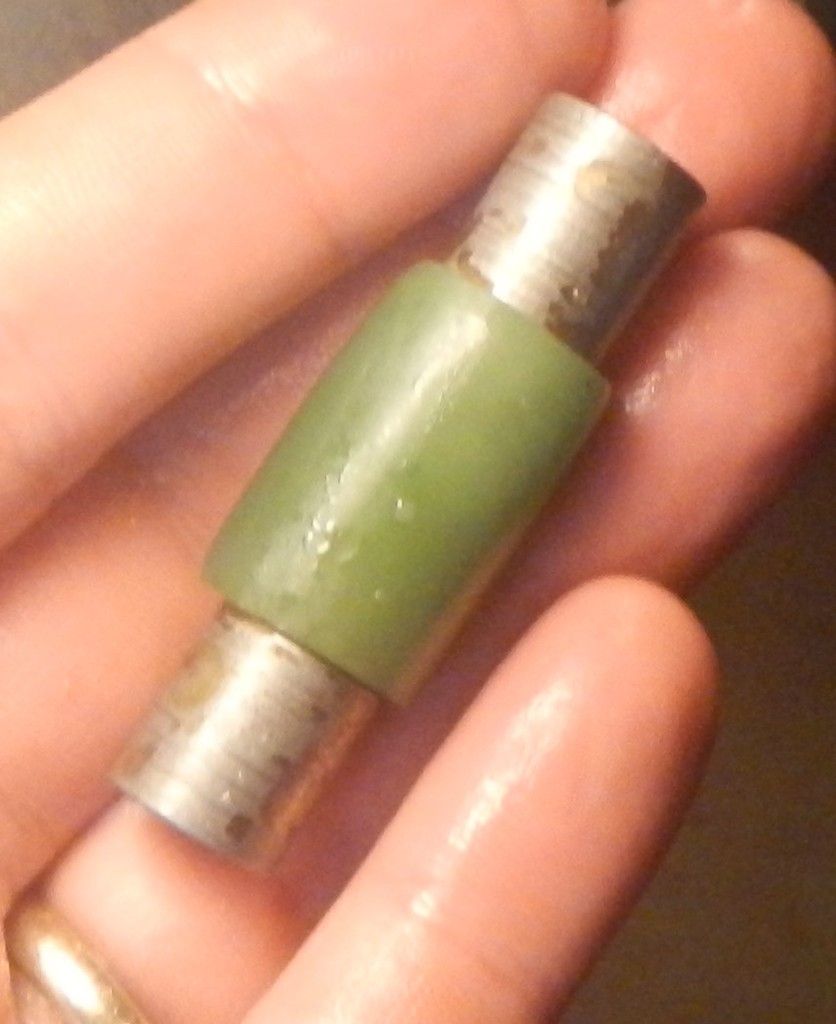
from here I only use the 220 wheel for shaping and grind down until the ends of the jade tube are flush with the bushings.
after that, shape as desired. I like to have the pen as thin as possible so it doesn't feel bulky in the hand. So I removed most of the material with enough left to make a shallow dome on the soft wheels.
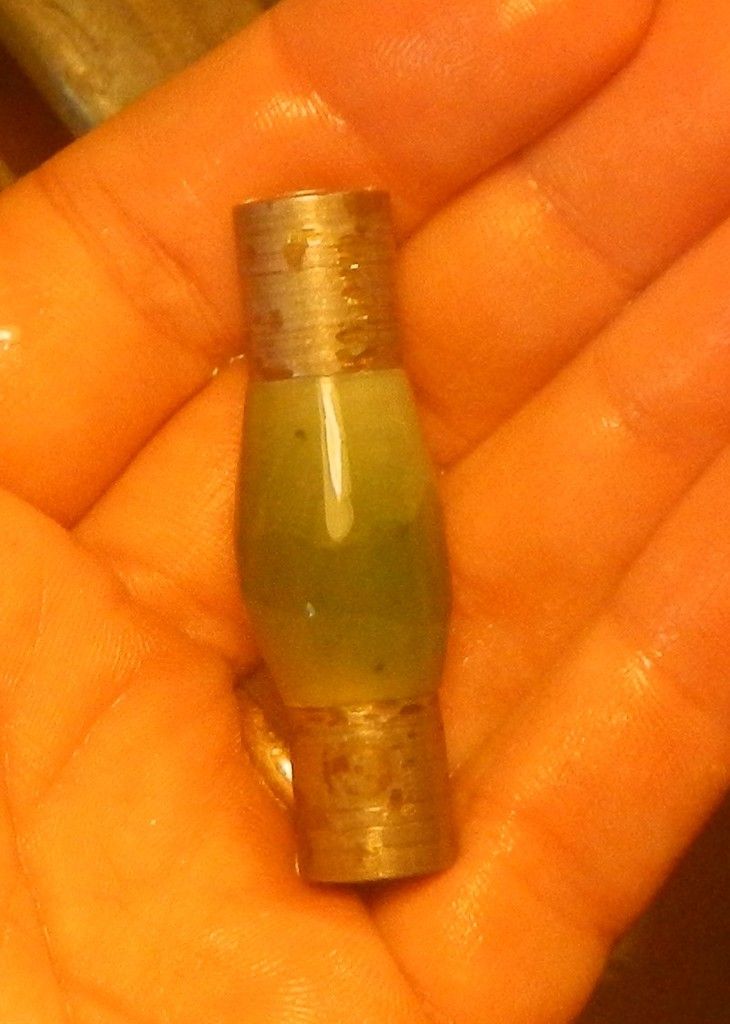
now just proceed through grits as usual. I moved through the soft wheels to 3000. At this stage, the polish was acceptable so I stopped. If this was any other stone I would have taken it further, but if this orange peeled, there is not enough material to regrind. The final stone thickness is below. The brass tube has a wall thickness less than 0.5mm for reference.
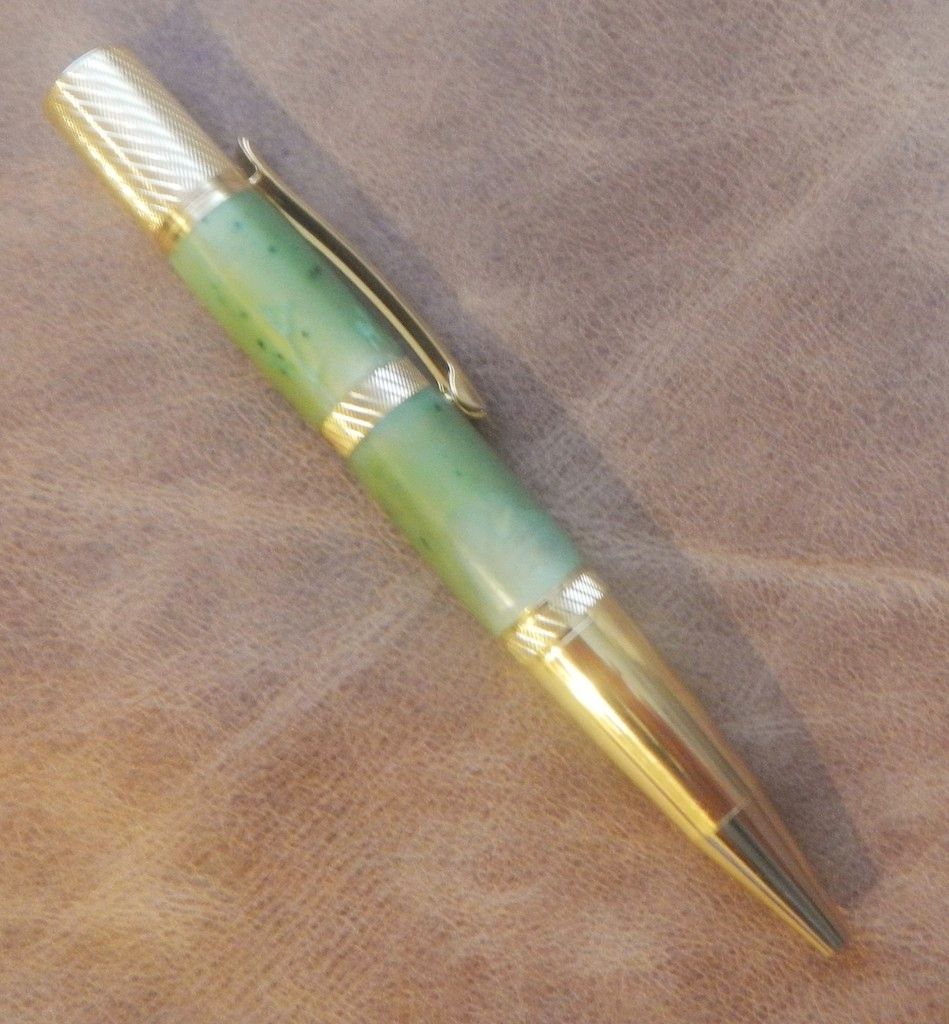
Now it is just a matter of pen assembly. Everything is press fit together. The instructions recommend that you use a special pen press, but I just use a large C-clamp. Follow the instructions on the order of things. Here is the finished pen
thanks for looking, and hope this was helpful

